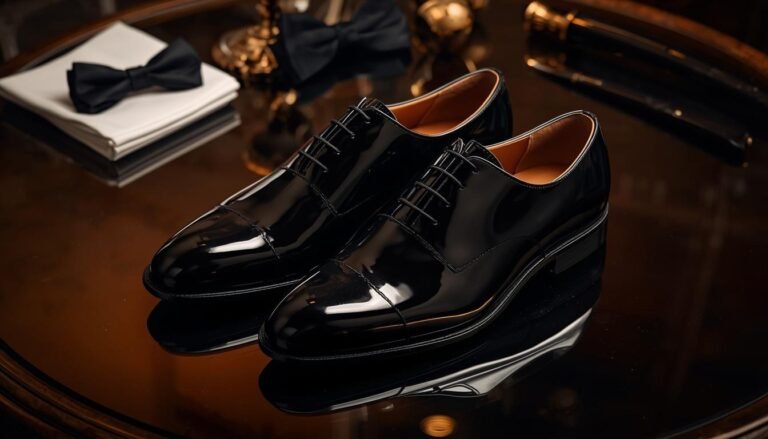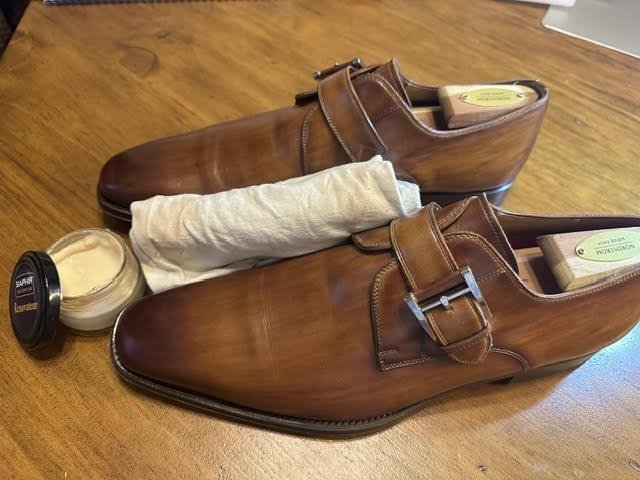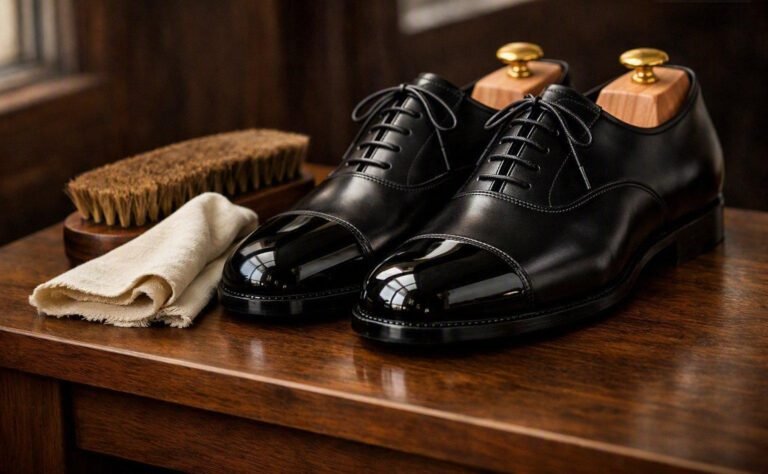
A polished pair of dress shoes changes the way the entire outfit reads. Even a well-cut suit looks unfinished if the leather is dull, dusty, or hazed with old wax. A clean, well-cared-for shoe signals attention to detail and makes everything above it look sharper.
The good news is that it is not complicated. It comes down to knowing what each product does, where it belongs, and how to build shine in thin, controlled layers. Once those fundamentals click, the process becomes repeatable instead of intimidating.
This guide walks from a basic maintenance shine to a proper mirror finish, and explains where beginners go wrong, usually by confusing conditioning with polishing, or forcing a mirror shine onto parts of the shoe that flex.
Understanding Shine Levels
Not every dress shoe needs the same finish. The right level of shine depends on the style of the shoe, the occasion, and how much maintenance the owner wants to do.
A basic everyday shine comes from cleaning, conditioning, cream polish, and a horsehair brush. The result is healthy leather with colour depth and a soft glow.
A business shine adds wax polish and more deliberate buffing at the toe and heel. It suits cap-toe oxfords, derbies, and other office-ready pairs because it reads crisp without becoming flashy.
A mirror shine, often called glaçage, is more specialized. It is not simply more polish. It is a layered wax finish built on the hard, structured parts of the shoe until the surface becomes smooth enough to reflect light clearly.
For most men the best-looking result is balance: soft shine across the upper, stronger shine at the extremities, and a mirror finish saved for occasions that call for extra formality.
Why Mirror Shine Works
Leather is a natural material with pores, grain variation, and slight surface irregularities. Those imperfections scatter light, which is why untreated leather reads matte or softly luminous rather than sharply reflective.
A mirror shine works by filling and leveling that uneven surface with thin coats of hard wax. As the wax settles into the low points and smooths the exterior, light begins to reflect more evenly and the toe cap develops a mirrored effect.
This is also why mirror shine belongs on the toe cap and heel counter rather than the vamp. The toe and heel are structured and do not bend much during wear. The vamp flexes constantly, so a brittle wax shell there will crack and haze.
Cream Polish vs. Wax Polish
Cream and wax are not interchangeable. Cream polish nourishes, refreshes colour, and belongs across the upper, especially on areas that flex. Wax polish protects, resists water, and builds surface shine; its harder waxes (carnauba, beeswax, montan) create the crisp finish that a mirror shine is built from.
The practical takeaway is simple: use cream to care for the leather and wax to dress the surface. If the goal is mirror shine, wax becomes the main actor, but only after the leather has been properly prepared. The full breakdown of when each product earns its place is covered in our Conditioning vs. Polish guide.
Tools You Need
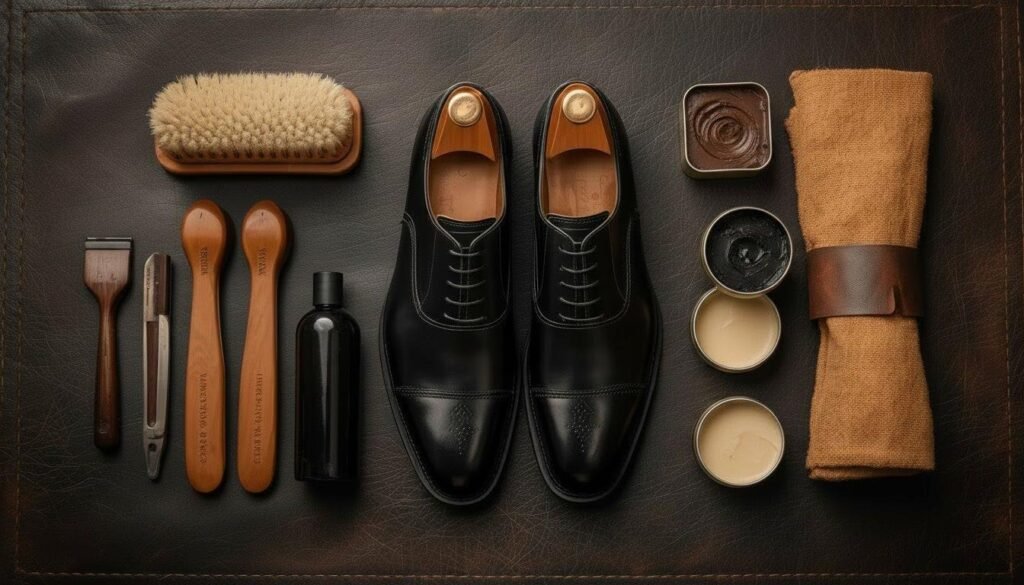
A strong result does not require dozens of products, but it does require a few reliable basics. A small, consistent kit beats a crowded shelf used unpredictably.
The first essential is a pair of shoe trees, ideally cedar. They hold the shoe’s shape, give the upper a firmer surface to polish against, and manage moisture after wear.
Recommended: Shop cedar shoe trees on Amazon
A horsehair brush is next. This is the workhorse tool for removing dust, buffing cream polish, and reviving a shoe between full polishing sessions. A soft cotton cloth or chamois is also important for applying cream, laying wax, and handling the final high-shine work.
Recommended: Shop a horsehair brush on Amazon
Beyond the tools, the core products are straightforward: a cleaner for removing old buildup when necessary, a conditioner, a cream polish matched to the leather, and a wax polish for added gloss. For those chasing a true mirror finish, a harder wax product formulated specifically for that purpose can speed up the process.
Recommended: Shop Saphir Pâte de Luxe wax polish on Amazon
Step 1: Clean and Prepare the Leather
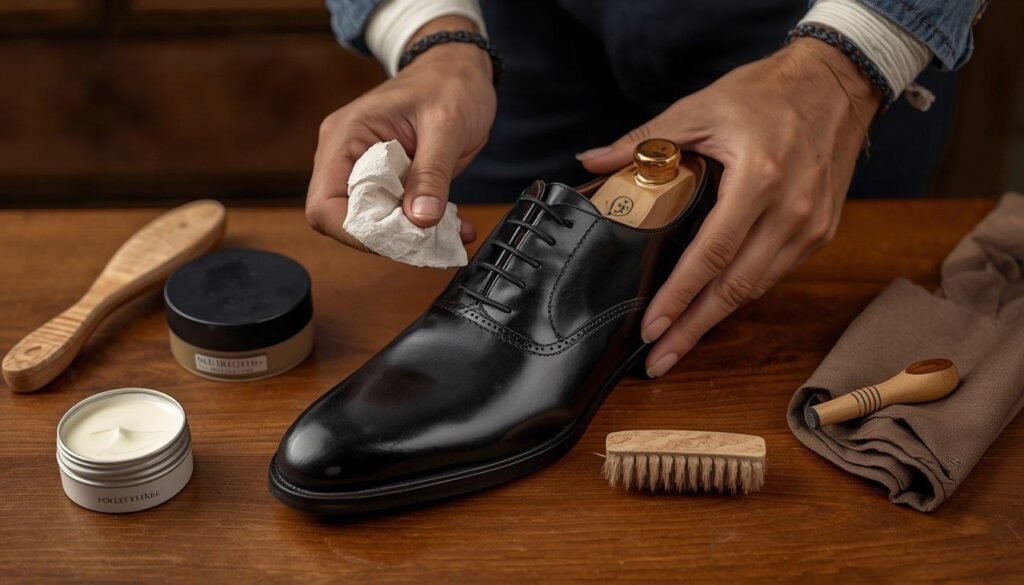
Before any shine goes on, the shoe needs a clean surface. Dust, dirt, and leftover polish residue interfere with the finish and can make even expensive products perform badly.
Remove the laces and insert shoe trees. Brush thoroughly, paying attention to the welt, seams, and any broguing where dust hides.
If the shoes have heavy wax buildup, cloudy residue, or uneven old layers, use a leather cleaner sparingly to strip the surface back. This is not an every-polish step, but it is useful when the finish has become congested and needs a reset. Once cleaned, let the leather dry fully before moving on, since polishing over leftover cleaner or moisture leads to inconsistent results.
Step 2: Condition the Shoes
Conditioning is easy to skip, especially for people mainly focused on shine, but healthy leather always shines better than dry leather. Conditioning also helps preserve the suppleness of the upper over time.
Apply a small amount of conditioner with a soft cloth and work it in gently. The goal is not to saturate the shoe; a light, even application is enough. Let it absorb, then brush lightly or wipe away excess.
This matters because polished leather should still be leather underneath. If the upper dries out while wax accumulates on top, the shoe looks good briefly but ages poorly.
Step 3: Build a Basic Shine with Cream Polish
After conditioning, apply cream polish to restore color and even out the visual tone of the leather. Cream polish is especially useful for refreshing minor scuffs and bringing richness back to dark calfskin.
Use a small amount on a cloth and work in circular motions across the upper. Cover the vamp, quarters, facing, and heel area with a light hand. Let the cream sit briefly, then buff with a horsehair brush until the leather develops a soft, healthy glow.
At this stage many shoes are already presentable for regular wear. For an understated finish without the time commitment of wax layering, this may be the only routine needed most weeks.
Step 4: Add Wax for More Gloss
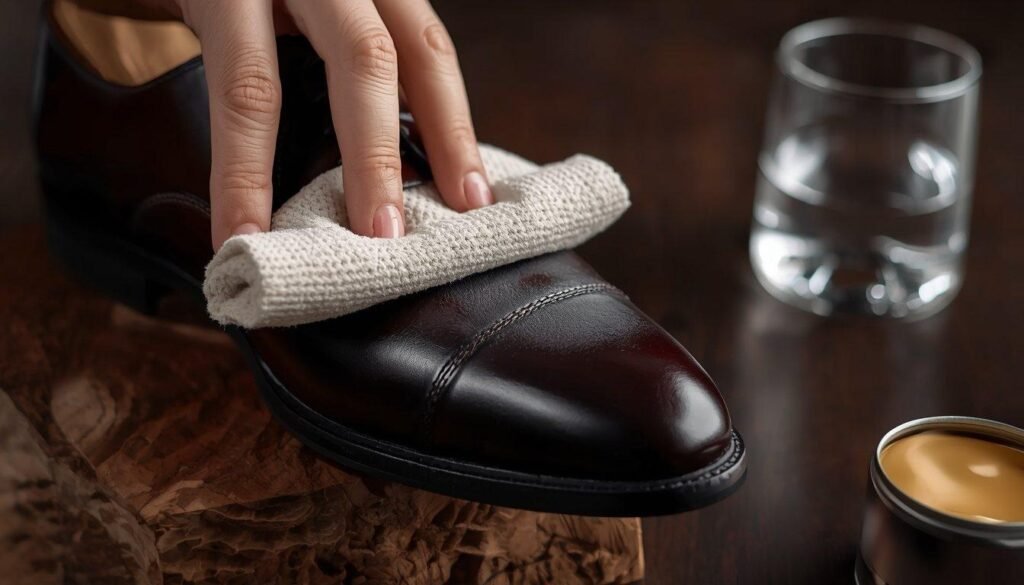
Wax polish comes after the cream stage. This is where the shoe begins to move from healthy-looking to sharply dressed.
Apply a thin layer of wax with a cloth, concentrating on the toe and heel. A very light pass can go over the rest, but the flexing vamp should never carry heavy hard-wax buildup. Let the wax haze slightly, then buff it out.
One or two thin coats can produce a very handsome business shine. The important point is restraint. Heavy wax applications tend to create buildup faster than they create elegance.
Step 5: Build the Mirror Shine Foundation
A true mirror finish starts with patience. The goal here is not instant gloss but a smooth wax foundation on the hard parts of the shoe.
Using a tightly wrapped cotton cloth, apply a very small amount of hard wax to the toe cap and heel counter. Work in small circles with light pressure. Allow the wax to settle, then repeat. Several thin layers will outperform one thick layer every time.
Early on the surface may look cloudy or muted. That is normal, the mirror effect develops as the pores fill and the wax film evens out.
Step 6: Finish with Water and Friction
Once the wax foundation is established, the final gloss comes from the classic spit-shine method: tiny amounts of water, tiny amounts of wax, and controlled friction.
Lightly dampen a fresh section of cloth and use a minimal amount of wax. Work the toe cap in quick, gentle circles. The water helps the cloth glide over the wax rather than grabbing it, while the friction smooths and levels the surface.
As the layers refine, the haze begins to clear and the reflection sharpens. Too much water can cloud the finish, and too much wax can disturb what has already been built.
An optional finishing trick: diluted alcohol
Some experienced polishers add a small amount of isopropyl alcohol to the water on the cloth at the very end. Diluted roughly one part alcohol to three or four parts water, it acts as a mild solvent that helps the top layer level out, and it evaporates faster than water alone, which clears the milky haze water can leave behind.
This is a finishing step, not a shortcut. Four rules make it safe:
• Final buffing stage only, never while building base coats.
• On the cloth, never poured onto the shoe.
• Always diluted. Undiluted 70 to 99% isopropyl will strip finish and dissolve dye.
• On built-up wax only, never on bare leather, patent, or other delicate finishes.
If you are new to mirror shining, build the wax foundation properly first. This trick refines a finish that already exists; it will not rescue one that does not.
Common Mistakes
Most polishing problems come from using too much product, rushing the sequence, or misunderstanding where mirror shine belongs.
The most common mistake is applying hard wax to flex points. The vamp bends every time the wearer walks, so heavy wax there tends to crack and turn whitish over time.
Another common mistake is skipping cleaning and conditioning. New polish layered over dirt, old residue, or dry leather rarely looks refined.
Using too much product is equally common. Excess cream or wax slows drying, attracts residue, and makes buffing harder. Impatience compounds it: mirror shine develops gradually, and forcing a shortcut leads to streaking. Clean tools matter too, since a dirty cloth can redeposit grime onto freshly polished leather.
How to Maintain the Finish
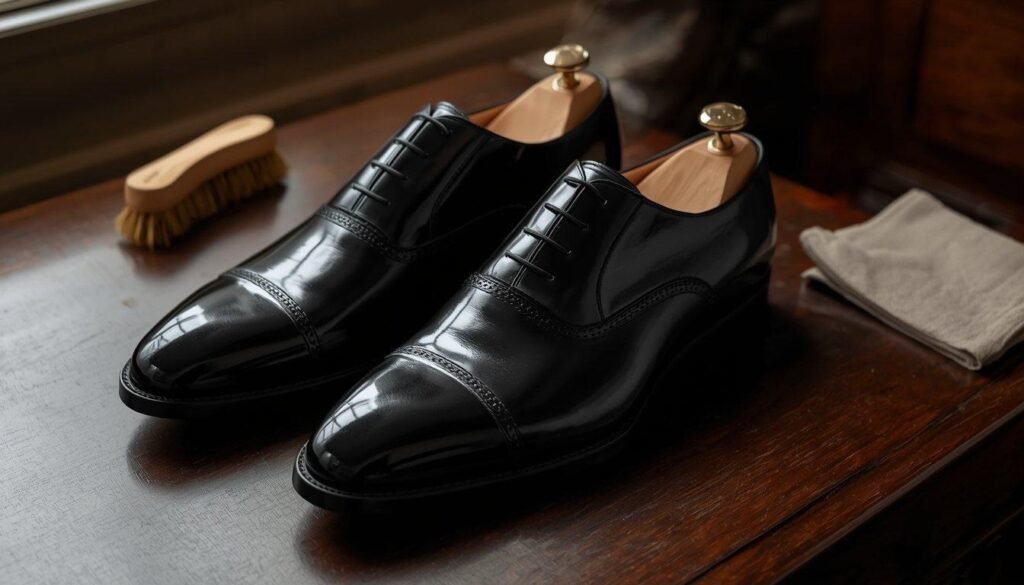
A shine lasts longer when maintenance is regular and light rather than occasional and aggressive. After each wear, a quick brushing removes dust and preserves the finish already in place.
Cream polish refreshes colour periodically; wax touch-ups restore brightness to toe and heel as needed. A full strip-down and rebuild should be occasional, not constant.
Shoe trees do quiet work here too, holding the shape that makes a polished toe cap read cleanly in the first place.
For men building a serious dress shoe wardrobe, consistency beats intensity. Ten minutes of upkeep on a regular schedule will usually keep shoes looking better than infrequent, oversized polishing sessions.
Final Thoughts
Learning to polish dress shoes is one of the most useful skills in classic menswear. It protects the leather, lifts the whole outfit, and helps expensive shoes age with dignity.
More importantly, it rewards restraint. The most elegant result is usually a nourished upper, a crisp toe, and just enough gloss to catch the light without overwhelming the shoe.
If you are starting from nothing, the Shoe Care Starter Kit guide covers what to buy first without overbuying.
Get in Touch
Spotted a shoe worth examining, want to send a pair in for review, or have a correction? The Bespoke Sole is an independent editorial studio, and I read everything that comes in. Reach the studio here.
Lace up. Zip up. Slip in.