You finally bring home the pair you’ve been hunting: the last is right, the leather looks perfect, and the sole hasn’t touched pavement yet. The first question that usually follows is a classic conditioning vs polish debate, simple to ask and surprisingly controversial to answer:
Do you condition new leather shoes before you polish them, or just start shining?
Ask five experts and you’ll hear two very different instincts. One camp says “do not touch brand-new leather with conditioner.” The other says “give it a light drink before you start the relationship.” The right answer is not a slogan. It’s a sequence and a judgment call.
1. Why there’s a debate at all
New shoes arrive looking perfect for a reason. At the tannery and in the factory, the leather is tanned, finished, and often already treated with creams and waxes as part of production. In other words, the pair did not leave the workshop dry and neglected.
That’s the basis of the “no conditioning on new shoes” argument. If the leather has been fed and finished properly, pouring more product on immediately risks doing more harm than good, especially if you reach for a heavy conditioner or apply it with enthusiasm instead of restraint.
On the other side, there’s the part of the story you don’t see: storage and transit. A shoe can sit boxed in a dry warehouse for months before it reaches you. Packaging, climate control, and simple time all affect how much moisture the leather retains by the day you open the lid. That’s why many cobblers and care brands recommend at least checking the condition of the leather and being open to a very light conditioning step before the first wear if it actually looks dry.
So the real tension is simple:
- Factory finishing may mean the leather doesn’t need more conditioning right away.
- Warehouse time may mean some pairs genuinely do benefit from a cautious top-up.
Treating every new shoe the same ignores both realities.
2. Conditioning vs Polish: What Each Product Actually Does
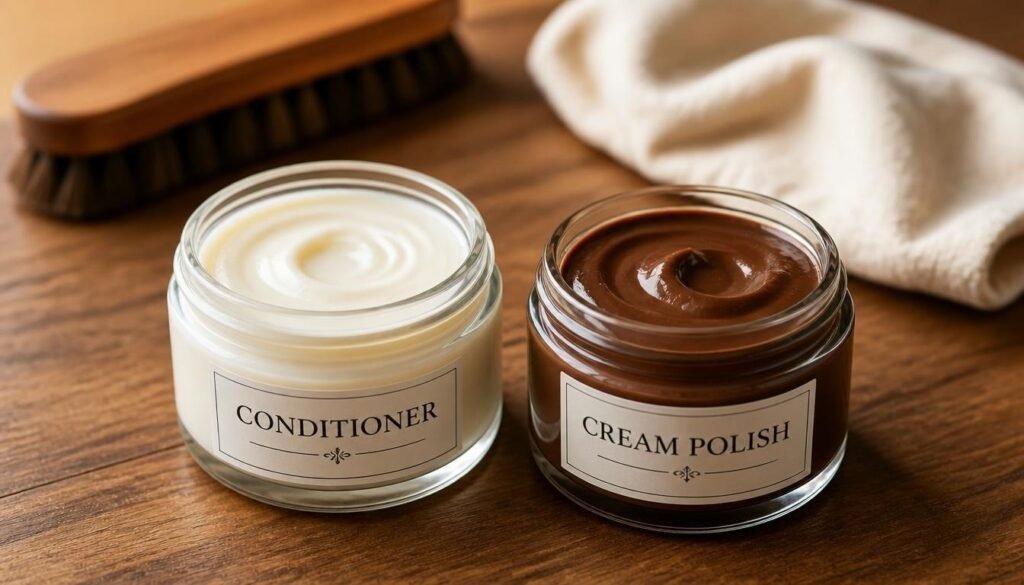
Before you decide what to put on a shoe, you need to know what each product is for. “Conditioning vs. polish” isn’t a marketing line; it’s a difference in how the leather behaves. Think of it in two layers: conditioner works inside the leather, and polish works primarily on top of it.
Conditioner is designed to restore or maintain moisture in the fibers, keep the leather supple so it flexes cleanly, and slow down drying and micro-cracking over time. A good conditioner penetrates into the hide. Used properly, it’s closer to skincare than makeup, it’s the moisturizer that keeps the material healthy.
Cream polish and wax polish are designed to even out or restore color, build shine ranging from soft glow to mirror finish, and add a thin protective barrier against scuffs and light moisture. Cream polish sits closer to the leather and offers both color and a soft lustre; wax polish sits more on the surface, building higher gloss and a more pronounced barrier. Neither is meant to be a deep moisturizer. They are finishing tools.
When you confuse those roles, you start making the wrong decisions. When you get them right, the sequence becomes obvious. For the full product breakdown across budgets, see our starter kit guide.
3. The Golden Rule of Conditioning vs Polish: Condition First
On one point there is no debate: if you are going to both condition and polish a pair, the order is not negotiable. You condition first. You polish after.
Here’s why. Polish, especially wax, creates a barrier. That barrier is useful when the leather underneath is healthy; it helps the shoe resist the little insults of daily wear. When the leather underneath is dry, that same barrier becomes a seal. It traps dryness inside and makes it harder for any later conditioner to reach the fibers.
That’s the mistake you see in so many “before and after” horror stories: dry leather develops small creases; an owner sees the creases and reaches for heavy wax to “fix” them; the wax hardens on top of brittle leather; the next flex turns those creases into cracks. The problem wasn’t the crease; it was the sequence. You don’t patch dryness with wax. You address dryness with conditioner, then build the finish.
So the rule is simple: if the leather doesn’t need conditioning, you can go straight to a light cream polish. If it does need conditioning, you apply a small amount, let it absorb, then polish. What you never do is wax dry leather and call it care. Once you treat conditioning vs polish as two separate jobs, the rest of the decision gets much easier.
4. When “no conditioning” is the right call
The “never condition new shoes” camp isn’t wrong on principle; it’s wrong when treated as a blanket rule for every pair. There are cases where skipping conditioner on day one makes sense: the shoe comes from a reputable maker with strong finishing standards; the leather looks and feels healthy, with no visible dryness, chalky patches, or dullness in the flex areas; the color and finish are delicate (museum calf, light crust) and you don’t yet know how they’ll react to product; or you plan to wear the shoe lightly at first rather than push it through long days immediately.
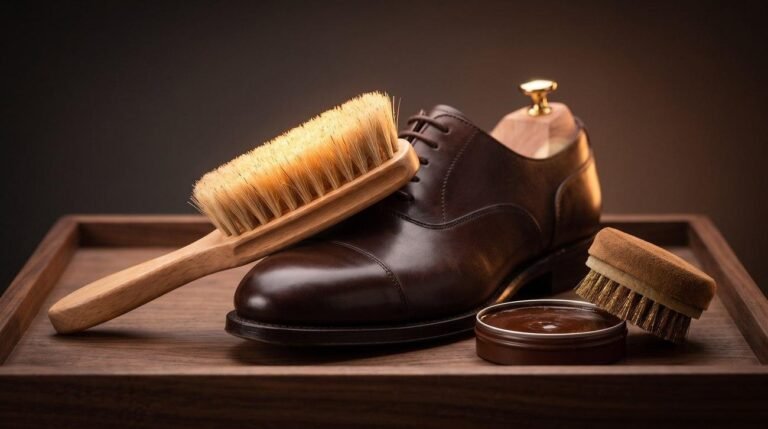
In those situations, your first “care” steps can be a thorough brush-down to remove dust and residue, a very light cream polish to even out color and add a soft sheen, and time on the foot so the leather can relax and break in naturally.
Shop a color-matched cream polish
You’re not neglecting the shoe. You’re trusting the factory’s work and letting the leather start its life without unnecessary interference. The discipline is in your eye: if it truly looks and feels right, there is no virtue in adding product for the sake of adding product.
5. When preventative conditioning is the better choice
There are also clear situations where a new pair deserves a cautious drink before the first real wear: the leather looks flat, dry, or lifeless in natural light; you can see slight surface dryness in the flex zones (vamp, instep); you know the shoes have been in storage for a long time; or you want to soften the break-in because you’re planning full days in them quickly.
Here, a light conditioning step is less about fixing damage and more about preventing it. Moisturized leather flexes more cleanly, which means fewer micro-cracks along the vamp when the shoe starts bending with your stride. A gentle conditioner can make the early wears more comfortable, reducing the sharp stiffness that often translates into heel blisters and sore joints. And starting with healthy fibers gives every future polish session a better foundation.
Shop Saphir Renovateur conditioner
The key is in the way you apply it: use a small amount of conditioner, not a generous scoop; work it in thin, even strokes across the upper, paying attention to seams and flex points; let the shoe rest so the product has time to sink in; and brush away any excess before you move to cream polish. Light, even, and patient. New leather doesn’t need a spa day; it needs a considered nudge back to balance if it has drifted dry in storage.
6. Practical first-day sequences you can follow
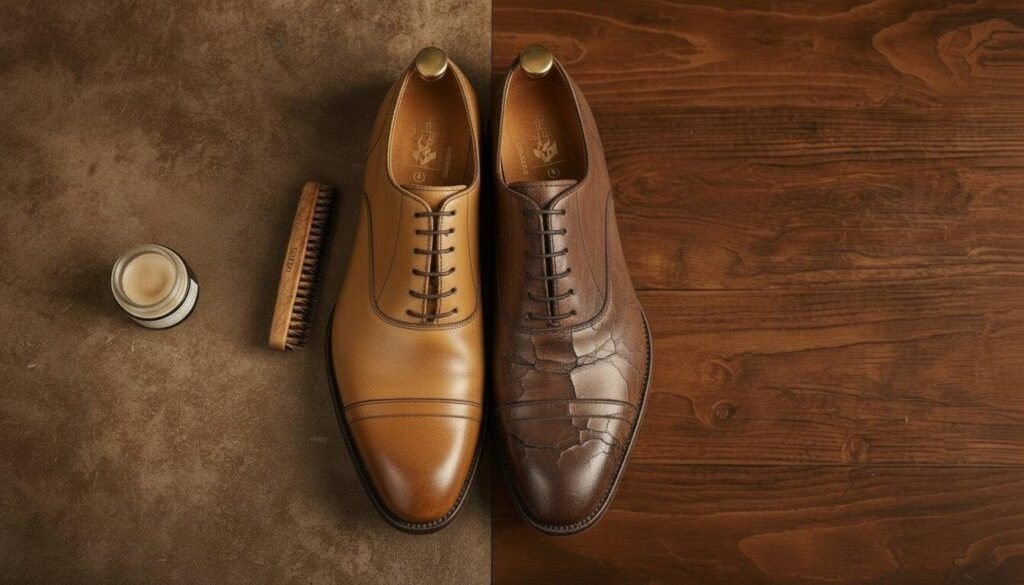
To make this usable, here are two clean first-day routines for the conditioning vs polish decision, depending on what you see when you unbox the pair.
Scenario A: Leather looks healthy
- Brush thoroughly with a horsehair brush.
- Inspect the uppers in natural light, no chalky dryness, no dull patches.
- Apply a very light cream polish in thin, even layers.
- Brush out to a soft, even sheen.
- Wear the shoes for short outings, then let them rest with shoe trees.
No conditioner, no heavy wax. You’re trusting the factory finish and starting with minimal intervention.
Scenario B: Leather looks dry or you know it sat in storage
- Brush thoroughly with a horsehair brush.
- Confirm that the leather looks dull or feels slightly dry to the touch.
- Apply a small amount of conditioner across the uppers, focusing on flex zones.
- Let the shoes rest while the conditioner absorbs.
- Brush off any excess to reveal a healthier surface.
- Apply a light cream polish, then buff to a soft sheen.
- Insert shoe trees and allow a full rest before long wear.
In both scenarios, wax is optional on day one, and if you use it at all, it stays on the toe and heel, not across the main flex area. The goal is to avoid building a stiff shell over the parts of the shoe that need to move.
7. The warehouse effect, the break-in, and what not to do
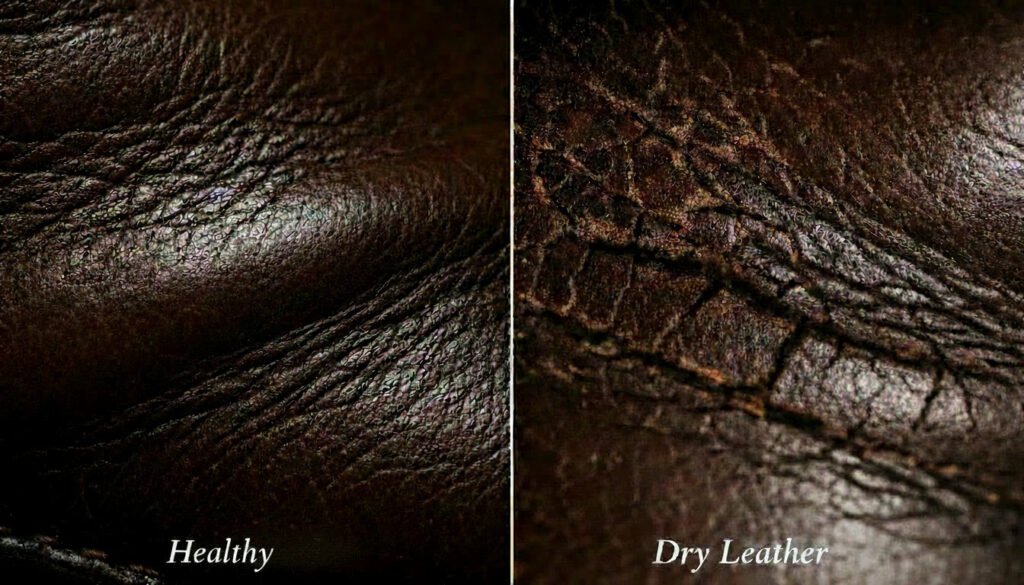
Three angles matter most for real owners. The warehouse effect: the factory can finish a shoe perfectly, but storage can still dry it out. You can’t see that history, but you can read the leather with your eyes and fingertips, always inspect in real light before deciding what it needs. The break-in benefit: conditioning, done well, isn’t just about long-term preservation; it can make the first week livable, because leather that flexes cleanly is kinder to your feet. And the danger of the wrong order: the biggest failure mode isn’t “conditioning too much” so much as “polishing too soon and too heavy”, sealing dry leather with wax is what leads to cracking.
Which gives you a shortlist of “don’ts” on day one:
- Don’t reach for heavy conditioner just because the shoes are new.
- Don’t skip inspection and assume the leather’s fine because it looks shiny under store lights.
- Don’t pile wax onto creases trying to hide them.
- Don’t treat conditioner and polish as interchangeable; they’re not.
That cracked, chalky flex line you’ve seen on neglected shoes is usually what happens when dry leather gets sealed under wax. The opposite, a smooth, shallow crease on healthy leather, is what conditioning and the right sequence are for. For the accessories that support this routine, see our guide to shoe accessories.
8. The simple rule you carry forward
The conditioning vs polish debate resolves into one sentence you can actually use: conditioner is what you use when the leather needs help inside; polish is what you use to finish the outside. If you use both, conditioner always comes first.
Everything else is judgment: reading the leather, respecting the factory’s work, weighing storage, and deciding what this specific pair needs before its first step.
Craftsmanship deserves that kind of care.
Get in Touch
Spotted a shoe worth examining, want to send a pair in for review, or have a correction? The Bespoke Sole is an independent editorial studio, and I read everything that comes in. Reach the studio here.
Lace up. Zip up. Slip in.